|
|
JamboardJamboard is an online collaborative real time digital whiteboard that is part of the GSuite apps.
How do I use it?Check out this introduction web video tutorial.
Learn the difference between the Jamboard web version versus iPad app in this video |
Understanding Jamboard: There are 3 ways to access Jamboard
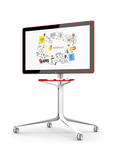
#1. Physical whiteboard called Jamboard by Google (we don't have this at Hookele)
|
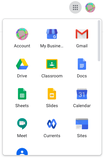
#2. Web Version by navigating to: jamboard.google.com
The web version has less features than the mobile app. |
#3. Mobile App: Access Jamboard through a mobile app on the iPad
|
Jamboard (Web Version) |
Jamboard (iPad App) |
|
|
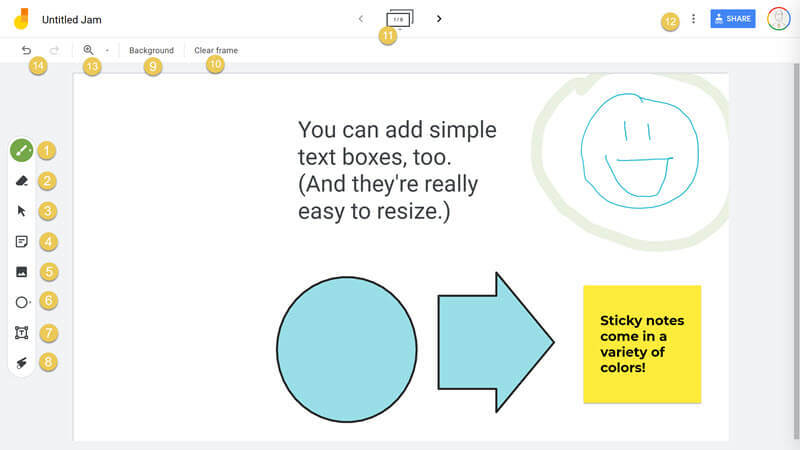
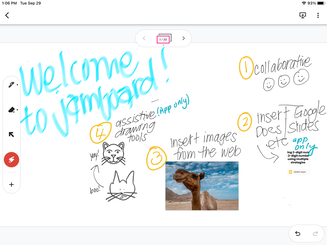
The user interface for the web version and the iPad app look a little different. They both can do the same thing. But the iPad has more capabilities where you can insert a Google Slide or Google Doc and additional assistive drawing tools.
1. Draw: Use a pen, marker, highlighter or brush. You can draw from pre-determined colors.
2. Eraser: Erase something you've drawn.
3. Select: Choose and adjust a shape, sticky note, image, text box.
4. Sticky note: Add a sticky note with text. You can choose from several colors.
5. Image: Add an image from your device, image search, Google Drive or Photos.
6. *Shapes: Add a circle, square, triangle, diamond, rounded rectangle, half circle, bar or arrow. Choose border color and fill color from the menu bar at the top of the jam. iPad app doesn't have a VISIBLE shape button, (BUT you can draw a shape and convert it to a perfectly drawn shape on the iPad)
7. *Text box: Add a box where you can type and format text. iPad app doesn't have a VISIBLE text box, (BUT you can double tap the eraser to clear frame)
8. Laser: Use a pointer to emphasize and highlight certain items on the screen when presenting ideas to others.
9. Background: Choose from dots, lines, graph, or dark colors.
10. Clear frame: Wipe everything off your frame with one click. (Undo if it was a mistake!). iPad app doesn't have a VISIBLE clear frame button, (BUT you can convert your handwriting to text on iPad)
11. Frame bar: See all of your frames in one place. Add new frames, duplicate or delete.
12. Menu: From here, you can rename your jam, download it as a PDF, save a frame as an image, remove, or make a copy your jam.
13. Zoom: Zoom in, zoom out, or fit to window.
14. Undo and redo: I'll bet you know all about this one already.